Sunday 31 August 2008

Rear subframe mount

Today I got the job that started all of this finished - the rear subframe mounting.

After taking the panel in and using my home-made jig to align everything, all that was left was to seam weld the panel and clean it up and paint it. Actually I also had to make numerous repairs to the rear wheelarch...

Here I am welding the panel in place.
Welding

It's hard work welding on your back! (And you get burned a LOT).

Looking tired

And here's the final result

The rear subframe mount repaired

It just needs tidying up and painting and then it's done. Compare that with how it started!

Rusty subframe mount

Next job, repair the front floor.

Thursday 28 August 2008

Rear subframe jig

In order to ensure that he subframe mountings line up when I fit the new subframe mounting panels, I decided to make a jig which I could use to align everything prior to welding.

Firstly I measured (three times to be sure) the distance between the rear trunnions on the old subframe. This distance was 1285mm. I then cut up an old piece of angle iron to the exact length (minus the width of the trunnions) and then welded a pair of old trunnions onto each end of this. I double checked that the new jig matched up exactly with the old subframe and thankfully, it did.

Here's the jig:


I then measured and tacked the new subframe moutning in place, and checked that it aligned with the otherside using the jig, like this:


Luckily everything seems to have lined up first time! I was pretty worried about doing this, but it seems to have gone well...

Wednesday 27 August 2008

New brake backplates

Not much to report today, other than the purchase of some replacement backplates for the rear brakes.

As is common on the Mini, the handbrake adjusters had completely seized on all of my other backplates and rather than mess about trying to free them off I picked up this pair on ebay for £10.

Tuesday 26 August 2008

Door step and outer sills

The next job after the inner sills was the door step. This required a lot of care to make sre everything lined up when I fitted the new panel, so the first thing was to take lots of measurements. I made alignment marks both on the car and on the ground and then measured the distance to them from the old metal.

Alignment points

Next I started to cut away the old rear bins and make up repair sections. Quite a lot of metal had to come out!

No metal

And then repair sections were let in

New metal

Bins

With thatdone I could start letting in the new door step and rear quarter. Here it is tacked in place
New door step

Thankfully all of my measuring paid off as it all lined up perfectly!

The door step was plug welded and seam welded in place. I butt welded it to the rear quarter panel.

Door step

Door step

The new door step in place, next job - the outer sill!

The new door step

The outer sill was very easy after the hard work of the inner sill and door step. It just plug welds to the doorstep and the floors, so I just had to position it correctly and then plug weld it.

In this photo you can see how many plug welds I had to do to the outer sill. (Lots).

Outer sill

Next it's just a case of sanding the welds down and priming it, like this

Primed

And job done!

New sill

New sill

Monday 25 August 2008

Inner sills

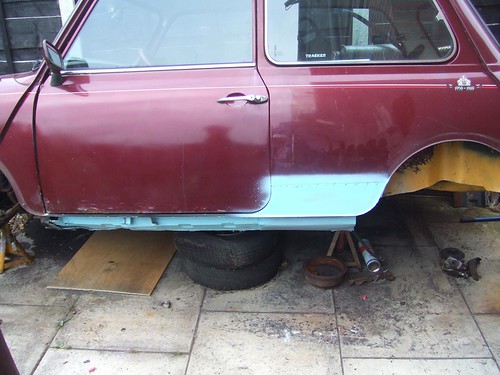
I hadn't planned on replacing the sills, but once I started looking it was clear they needed doing.

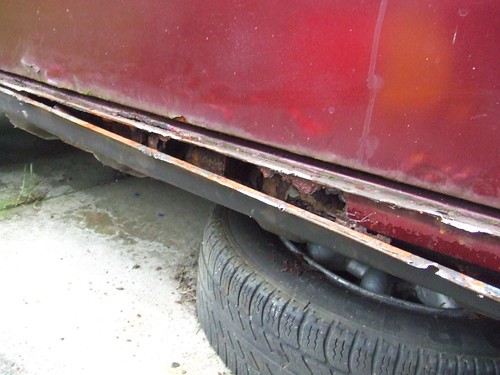
Somebody in the past had fitted cover sills - 8" wide sills which are just welded over the top of the old (rusty) sills. If you have a Mini do not do this!!! - it might keep your car on the road for another year but behind those sills the real (structural) sills will be rotting away.

Cover sills

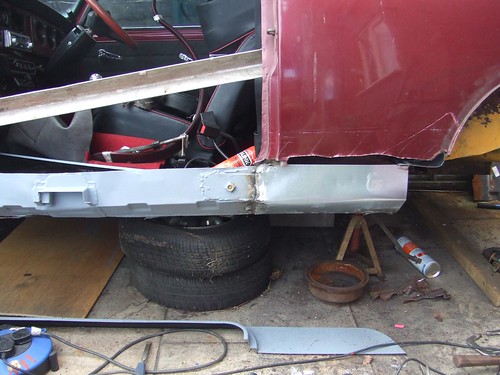
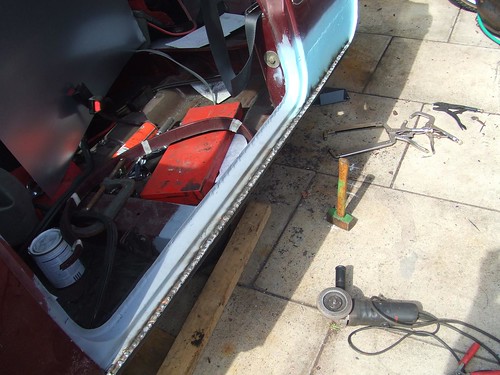
I removed the cover sills first. Woohoo! No rust! Oh no wait, I think I can see a bit.

Cover sills removed

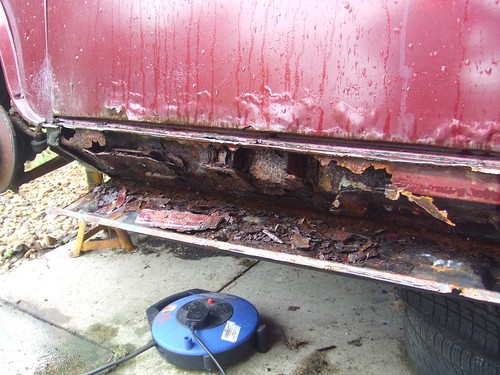
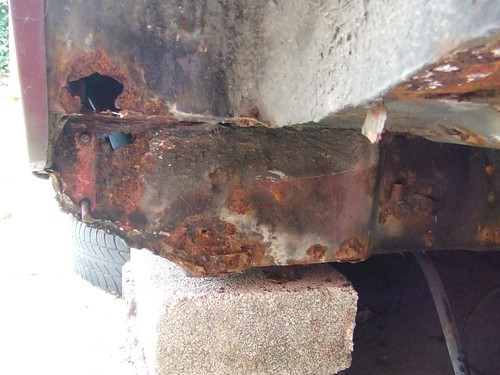
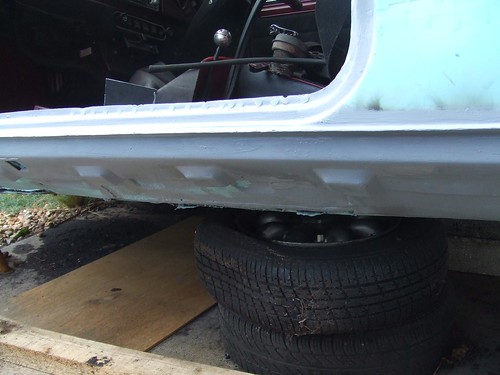
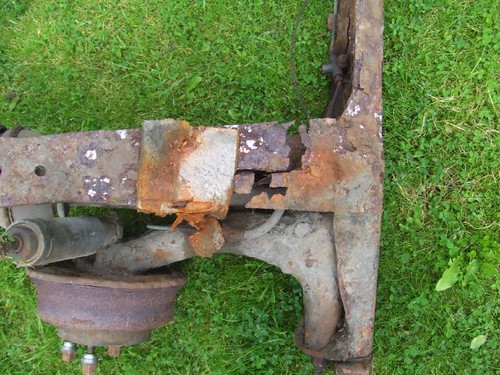
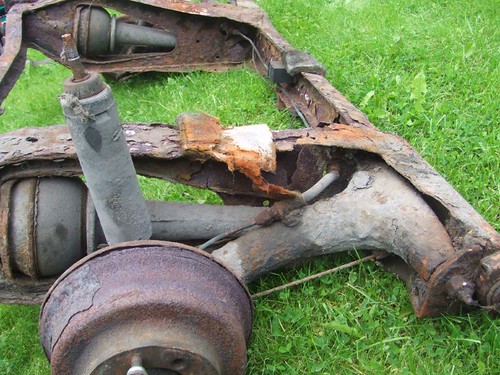
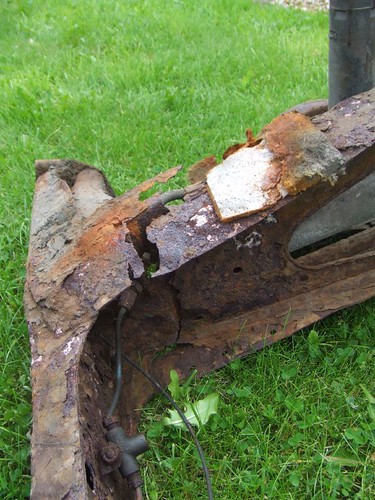
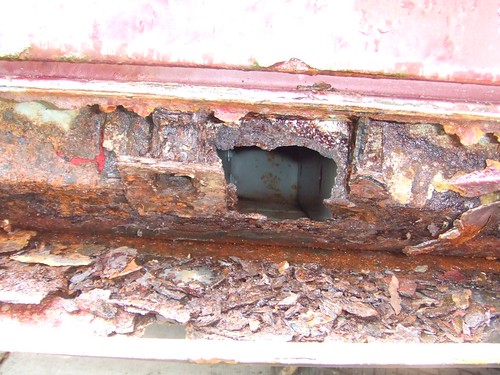
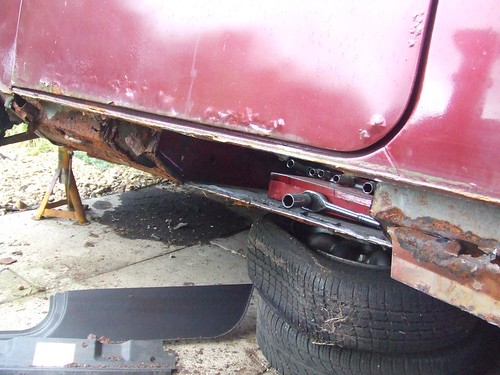
The "real" outer sills were almost completely gone, and the jacking point was dust. It's a good job no one tried to jack the car up on this

Jacking point

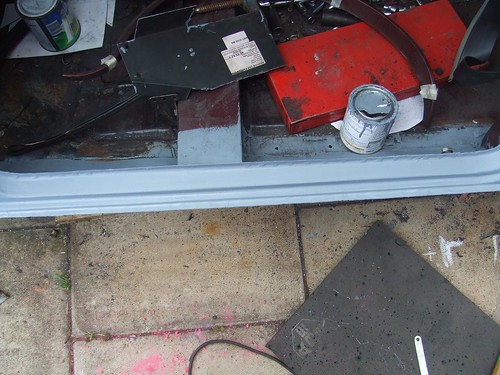
The cover sills completely removed, showing the extent of the rust

Cover sills gone

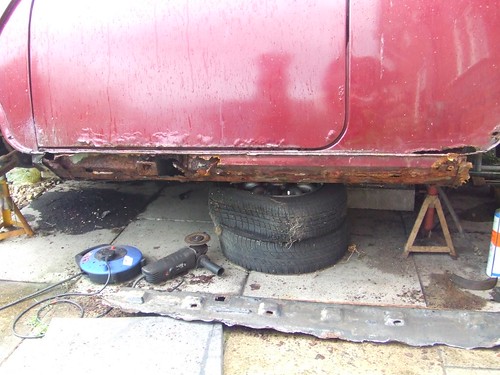
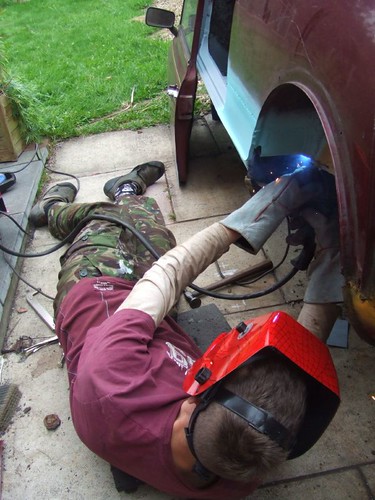
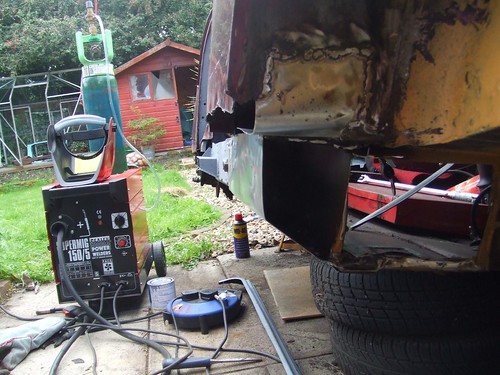
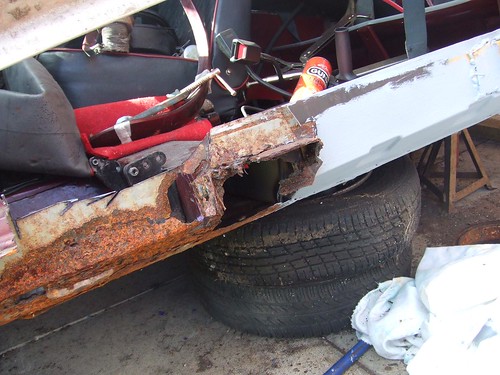
The first job is to cut the old inner sills out. I just cut these out using a cutting disc in the grinder since I would be replacing everything.

Inner sills cut out

I replaced the inner sills in two halves, just to make the job a little easier and to make sure I didn't remove too much metal at once.

Part way through

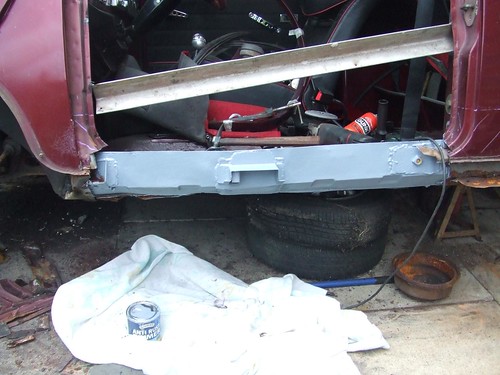
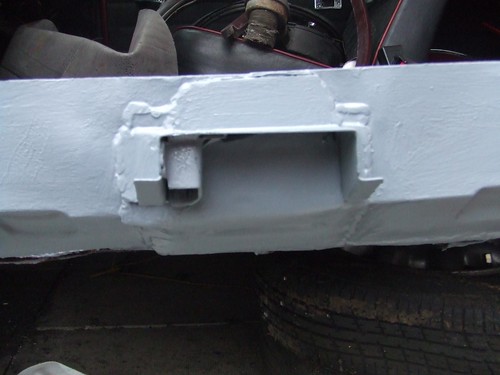
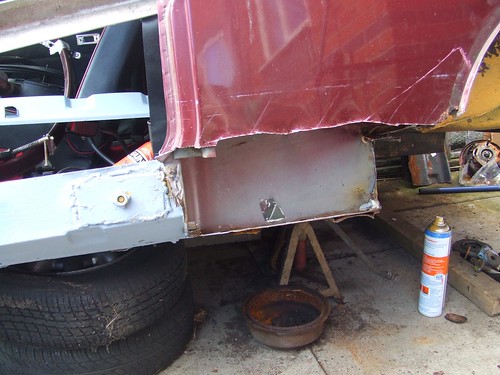
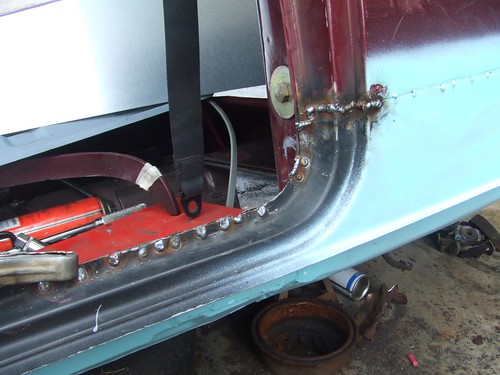
With the old sills removed and the new ones in place, the next job was to replace the jacking point. I bought a heritage jacking point panel and seam welded this in place. I could have plug welded it but since I'llbe jacking the car up on this I thought it much better to seam weld it. Plug or spot welds will eventually start to seperate the panels thus allowing water in, much better to just seal it all.

I also cut the old seatbelt mounting off the old sill and seam welded that onto the new inner sills.

New jacking point

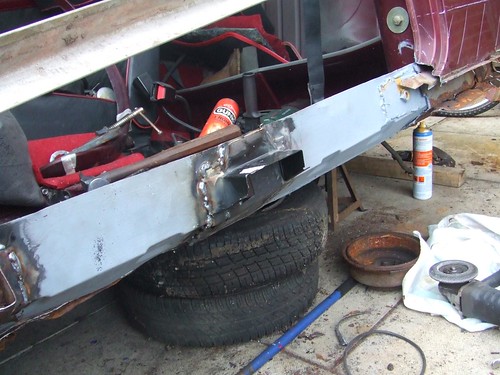
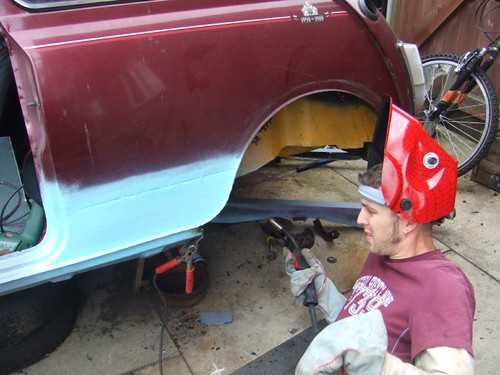
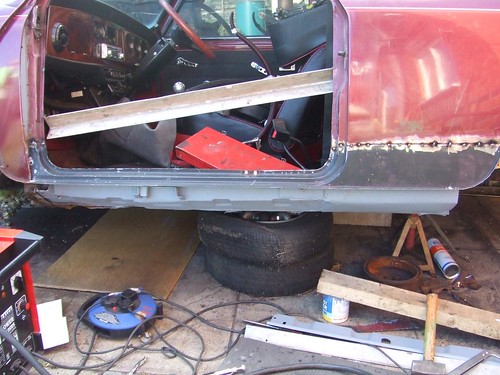
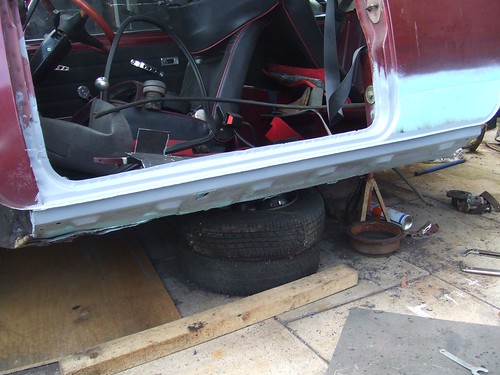
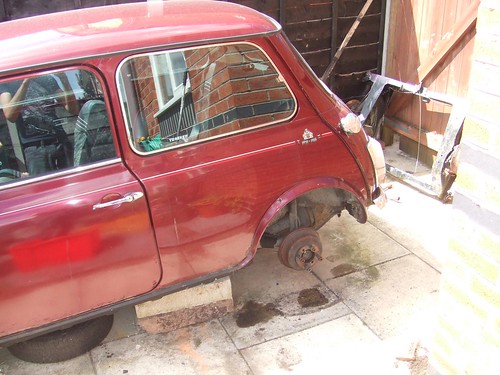
That's better! The new inner sills just about in place. The next job is to look at the rear "bins" and the door step panel.

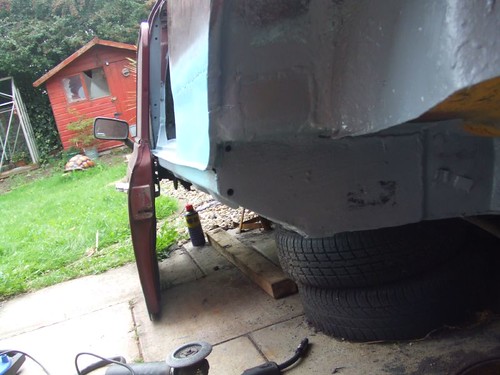
You'll also notice that I've welded a bar across the door gap, this is to ensure that the door gap doesn't collapse with the sills removed.

New sill in place

The new jacking point

Sunday 24 August 2008

Rear Subframe Removal

Before I start, let me say that removing the rear subframe was a nightmare. Don't let anyone tell you it's a quick job unless all of your mounting bolts are nicely clean, rust free and greased! You're going to need patience and a big extension bar for your socket to get it off!!

Anyway, here's the car ready to have the subframe removed:

Mini with its wheels off

Cheepa wanted to double check I was doing things right:

Chiho and the mini

After much soaking of the bolts in WD40, and much cursing the old bolts sheared off anyway and I finally got the subframe removed:

Old subframe

It's pretty knackered as you can see.

Check out these splits!

Split subframe

Split subframe

Split subframe

With the subframe off I could asses how much work was needed before I could put the new one on. The answer, a lot. Here's the N/S subframe mount for starters:

Rear subframe mount

Introduction

Welcome to my Mini restoration blog.

The car is a 1989 Mini 30 owned by my girlfriend. When she got it it looked like it "just" needed a new rear subframe... however once I removed the subframe and started looking I just found more and more rot, so I thought I'd better get on with fixing it all since we're supposed to be moving soon, which is tricky when the car has no rear wheels!

The plan is to repair all of the rust first. I've got a new rear subframe ready to be built up and fitted so we'll rebuild the rear radius arms and brakes and then fit that, with HiLos and new adjustable dampers instead of the old fixed suspension. I'm going to deseam the rear bumper mount and then the car is being sprayed red/gold flip. We're looking at deep dish chrome wheels to finish it off.

Here's a photo of our cat Chiho sitting on it just before I started work:


I've rebuilt a few other cars in the past so hopefully there won't be too many suprises, but the Mini is a lot smaller than some of my other cars! My Citroen DS Restoration website has lots of photos of my other cars.